And a question for you quilt binders....just how the hell wide do you cut your binding strips anyway? I've always cut mine 2" because that's the number I've had in my head for however long. I also tend to cut borders and stuff either 2", 3" or 5" because I have rulers that wide, but I'm pretty sure at some point in the past someone said 2" for a binding strip. I know all the quilting books (and magazines too, probably) give the measurement but I don't ever read that section. I don't read the section on how to make the quilt sandwich or how to use a rotary cutter either. At any rate, what brought all that up is I was listening to another quilter the other day and she commented on "...and then cut your binding strip the standard 2.5" or whatever width you use." It never even OCCURRED to me to make the damn thing any wider. I like the narrow, tight look of the 2" strip but I spend as much time wrestling with turning the binding as I do on making some of my quilts! I could add 1/2 inch and have room room to maneuver without adding a whole lot of width to the finished thing. But that would mean actually using the ruler to measure with, and not just using the width of the ruler to go by.
So anyhow....we had a great holiday. All the kids were home and in and out with their friends. I got a little work done, but truly I'm looking forward to them all heading back to school so I can have some peace and get back to my routine. A couple of days of non-stop sleeve tacking and label applying and strap assembling staring me in the face. The cats will try to help, but at least they don't ask for money or call me on the phone.

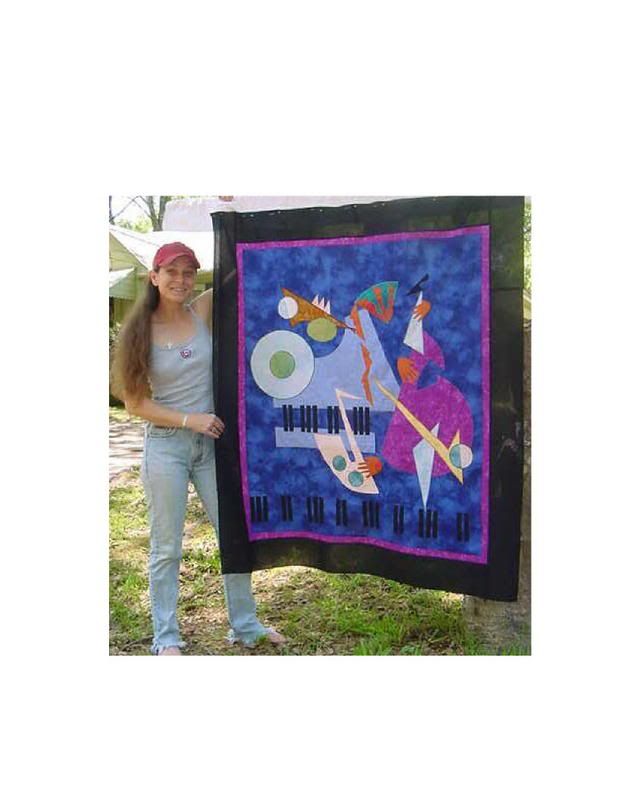
So here's the piece I did yesterday and today. It's a piece of rust-stained muslin with Katrina treasures rusted onto it. They came from one of the first trips down there and I used a Fleur de Lis finial from a wrought iron fence, a railroad spike, nails, washers, a key and the crosses are formed with the little slats from an air conditioning vent cover (look up to your ceiling....see the little thin strips on the vent?) The cross is layers of silk fibers and the key (very bottom right corner) is tied with silk fibers. The dark edge between the blue border and the outer border is a 1/4" flange. The blue is a commercial batik. 25"x40" total size.
6 comments:
I cut my binding 2.25". That give a nice stuffed binding.
Aw, heck. Aw, heck. I was reading your post and just realized that I cut a whole boatload of binding at 1 1/2" wide. Argh!
Yeah, usually I do it at 2" wide like you, but I may need to try 2 1/4 or 2 1/2 for variety. Once I finish gnashing my teeth, that is.
Good luck on the sleeves and labels - sounds like a busy week is ahead!
Have you thought about not using binding at all? I have been using Melody's "escape hatch" method on all my pieces for a while now and love the effect. No binding and clean edge .It would be a great look for your work.
For a double-folded binding, I use 2.25" cut. It still is tight, and my arthritic hands tell me so!
I was taught 2.5" as standard, but sometimes use 2.25" - that's plenty narrow enough for me thanks! I like bagging (escape hatch) or facing if I want something different.
love that rust "keykingdom" piece!
hey Tanya - I've done that by mistake too; my solution was to cut more 1.5" strips in a diff colour, stitch the binding strips together down one edge, to end up with a 2.5" strip. Press the seam to one side, slightly offset, trim the cut edges back 1/8" or so, and you end up with a rather nice hint of colour peeping under the edge, a bit like piping.
I bet you do fabulous at Chimneyville! I am sure you will find a way to get all those sleeves and labels done. LOL
Post a Comment